This course covers architectural illustration and rendering techniques. Emphasis is on architectural structures in 3-D either by freehand drawing or computer software, perspectives, delineation in various media, and development of students’ graphical expression. It includes an introduction to various reproduction methods.
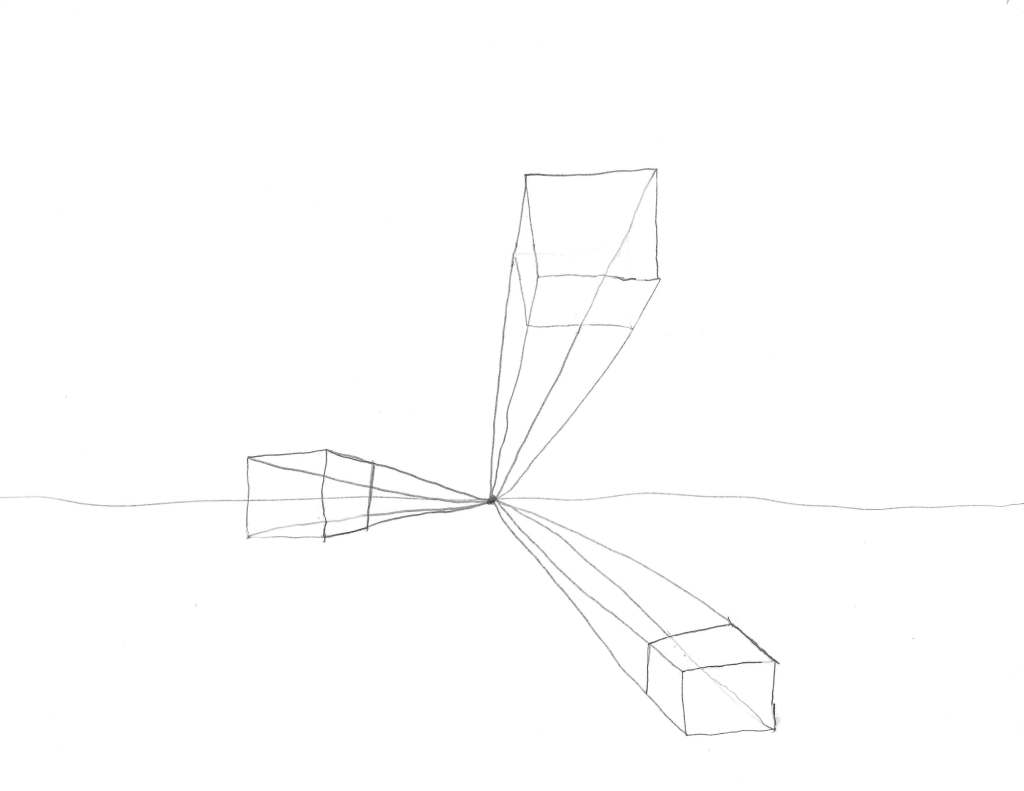
This is a one-point perspective drawing.
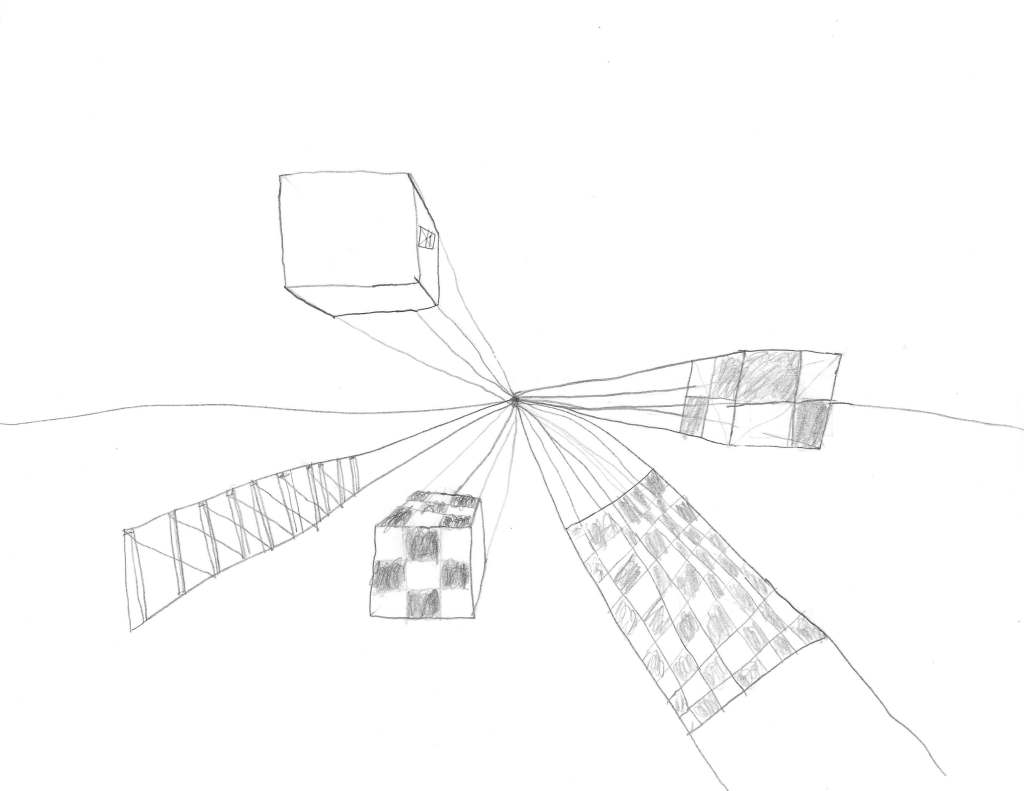
On the left is a perspective drawing I created with patterns on its sides.
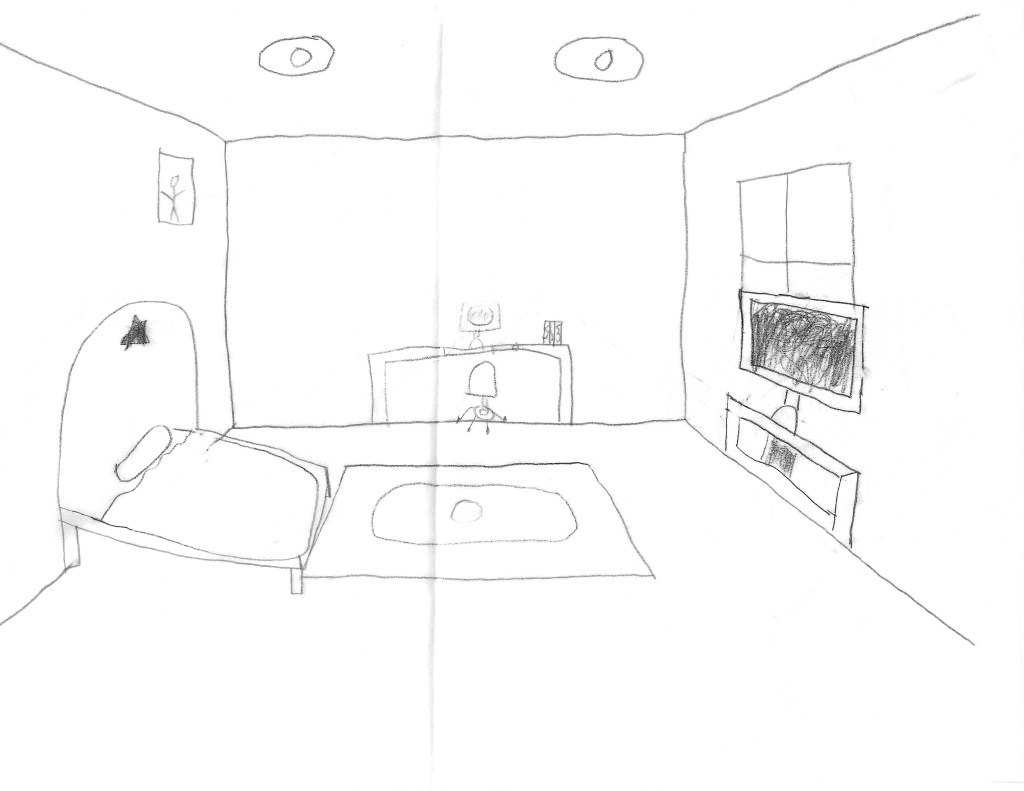
On the right is a perspective drawing of a room I created for an assignment.
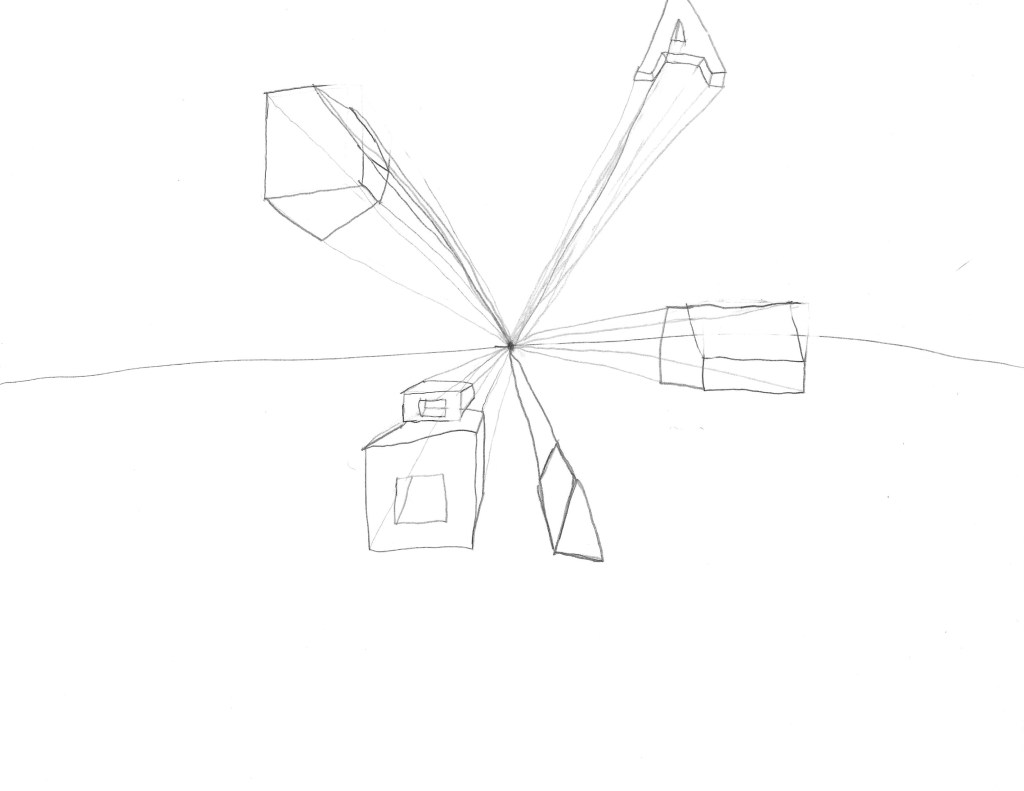
Here is another one-point perspective drawing.
Taking measurements is the first step to creating a concept drawing. Above is a layout of my kitchen after taking measurements of the walls and countertops. There are also some photos I took for reference.
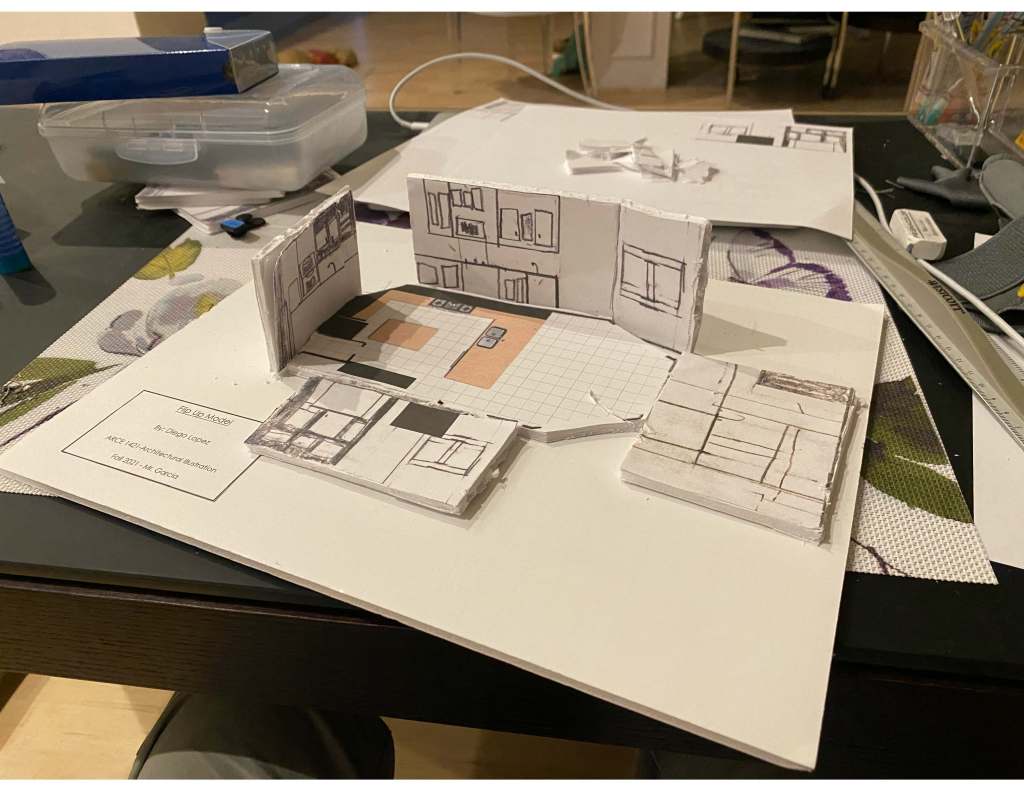
Here are the drawn illustrations of the kitchen scaled down to make a flip up model. Apologies if the some pages are larger than others.
Here is a concept image of what my kitchen looks like.
This is an image of a flip-up model of my kitchen I created. Apologies for the poor craftsmanship.
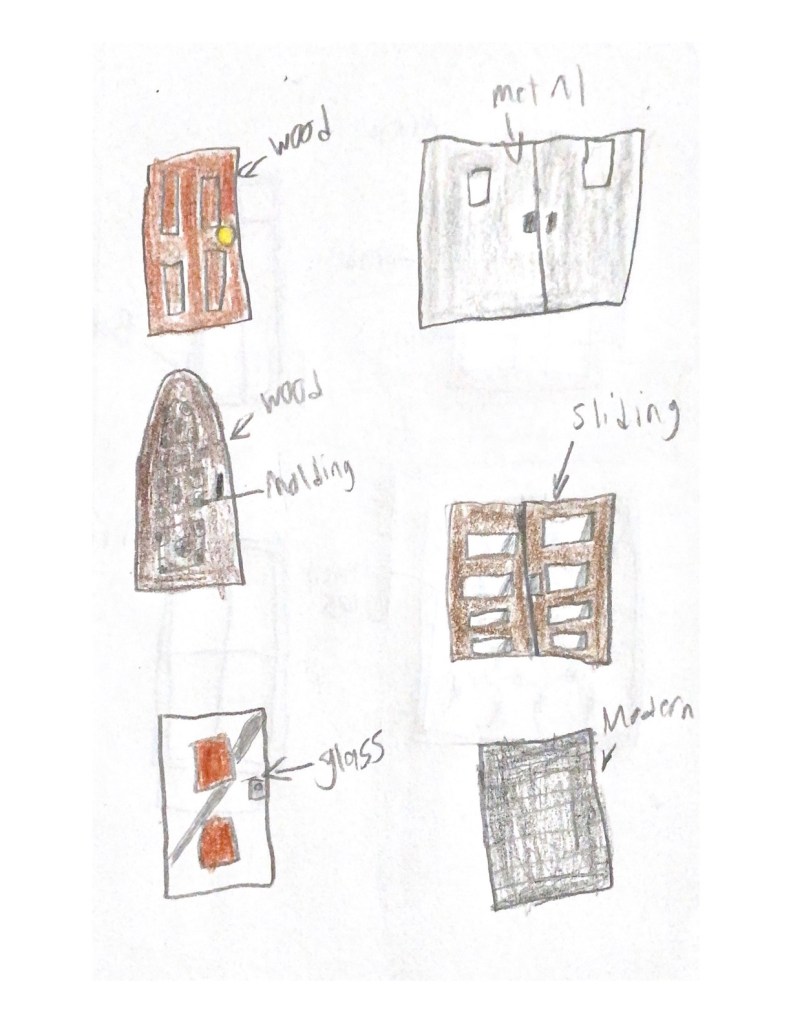
An hand drawn illustration of the types of doors used in architecture.
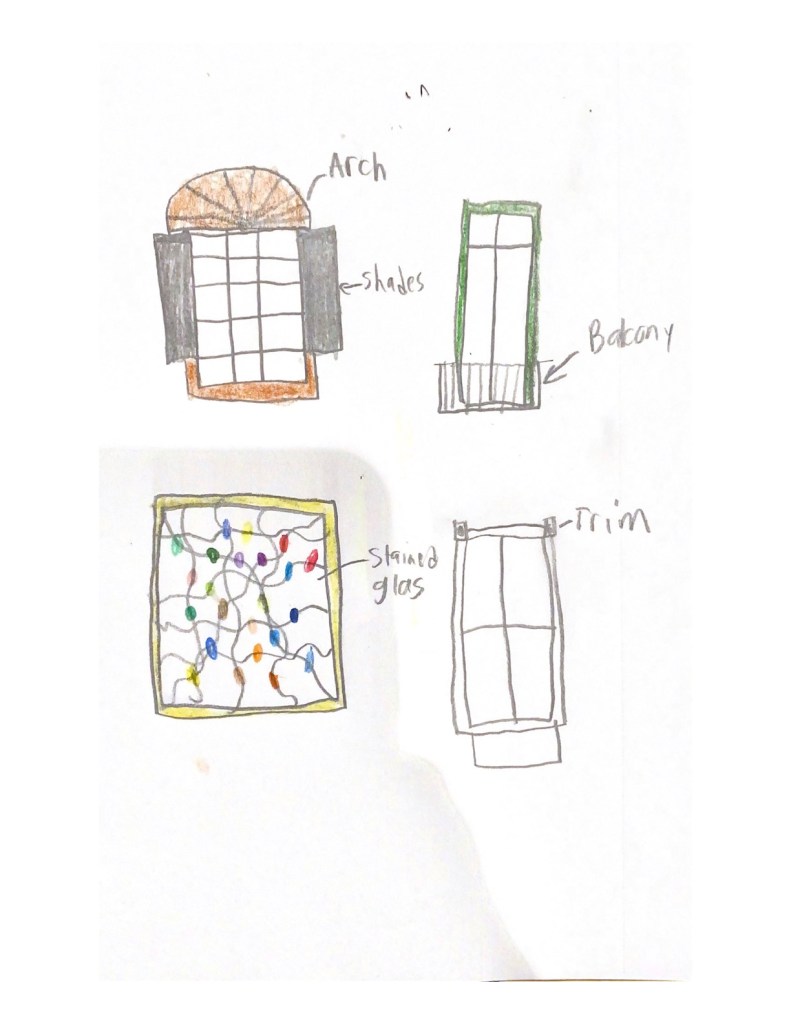
Illustrations of the types of windows used in architecture.


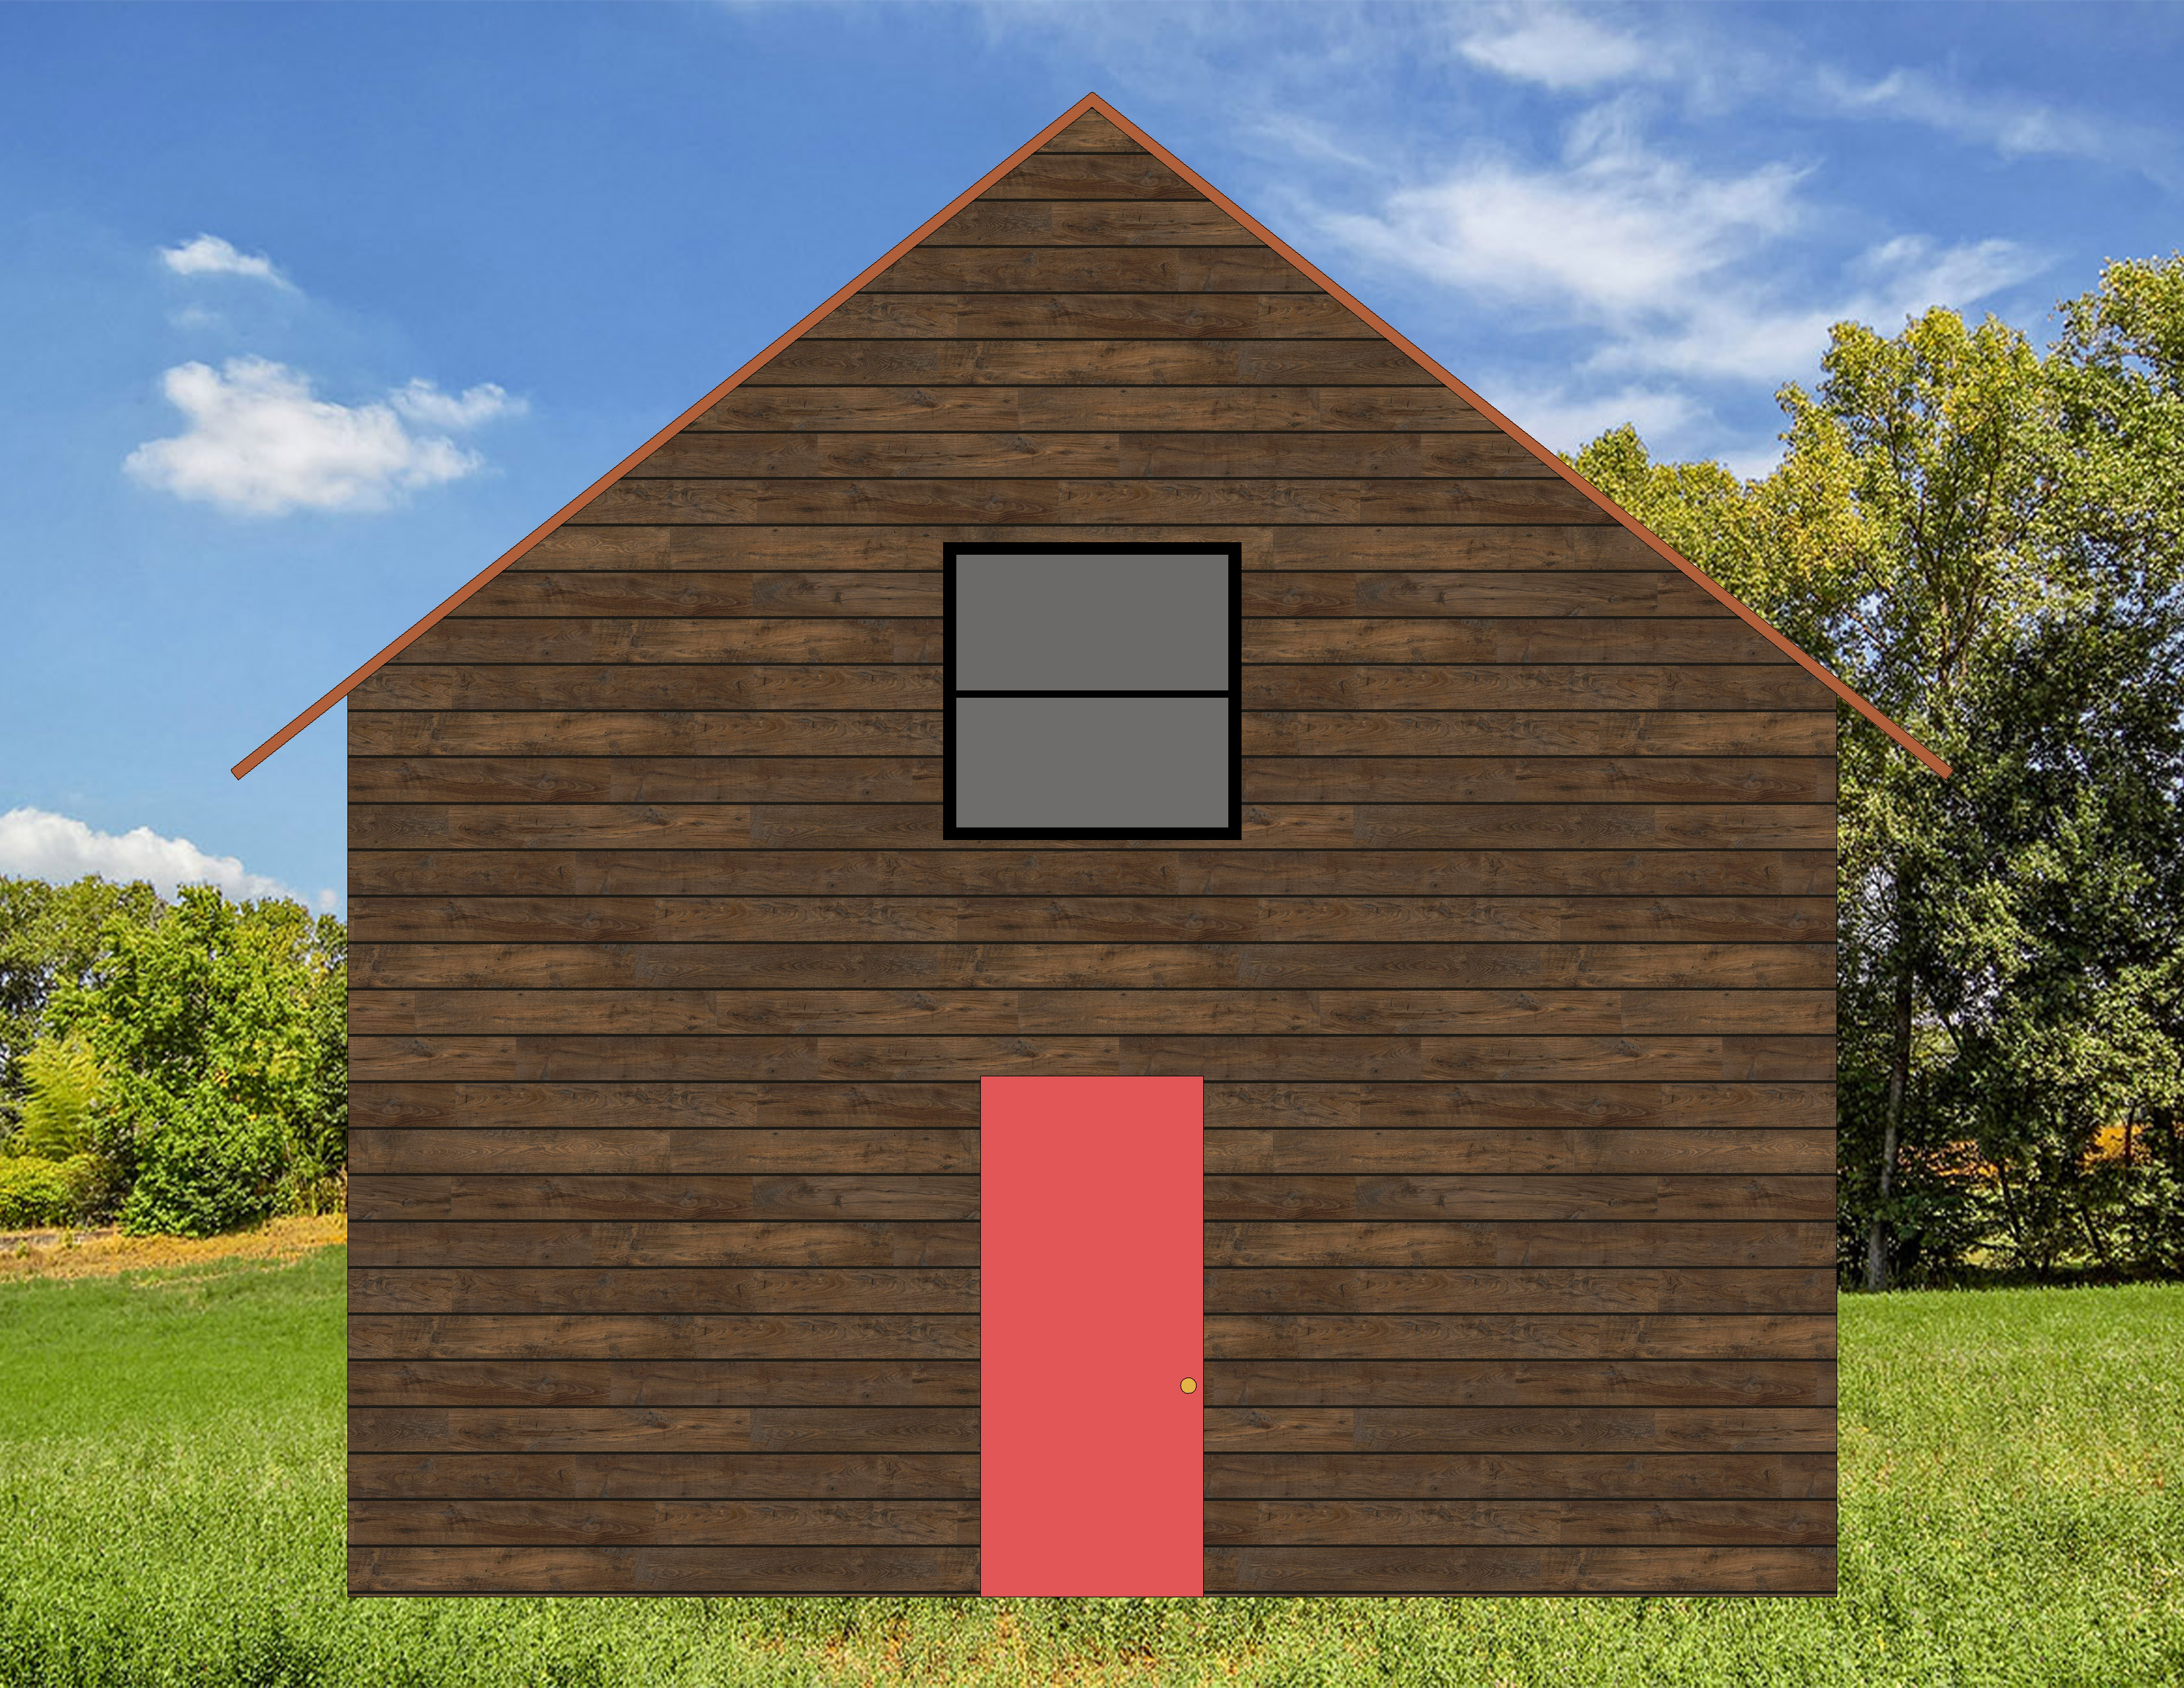
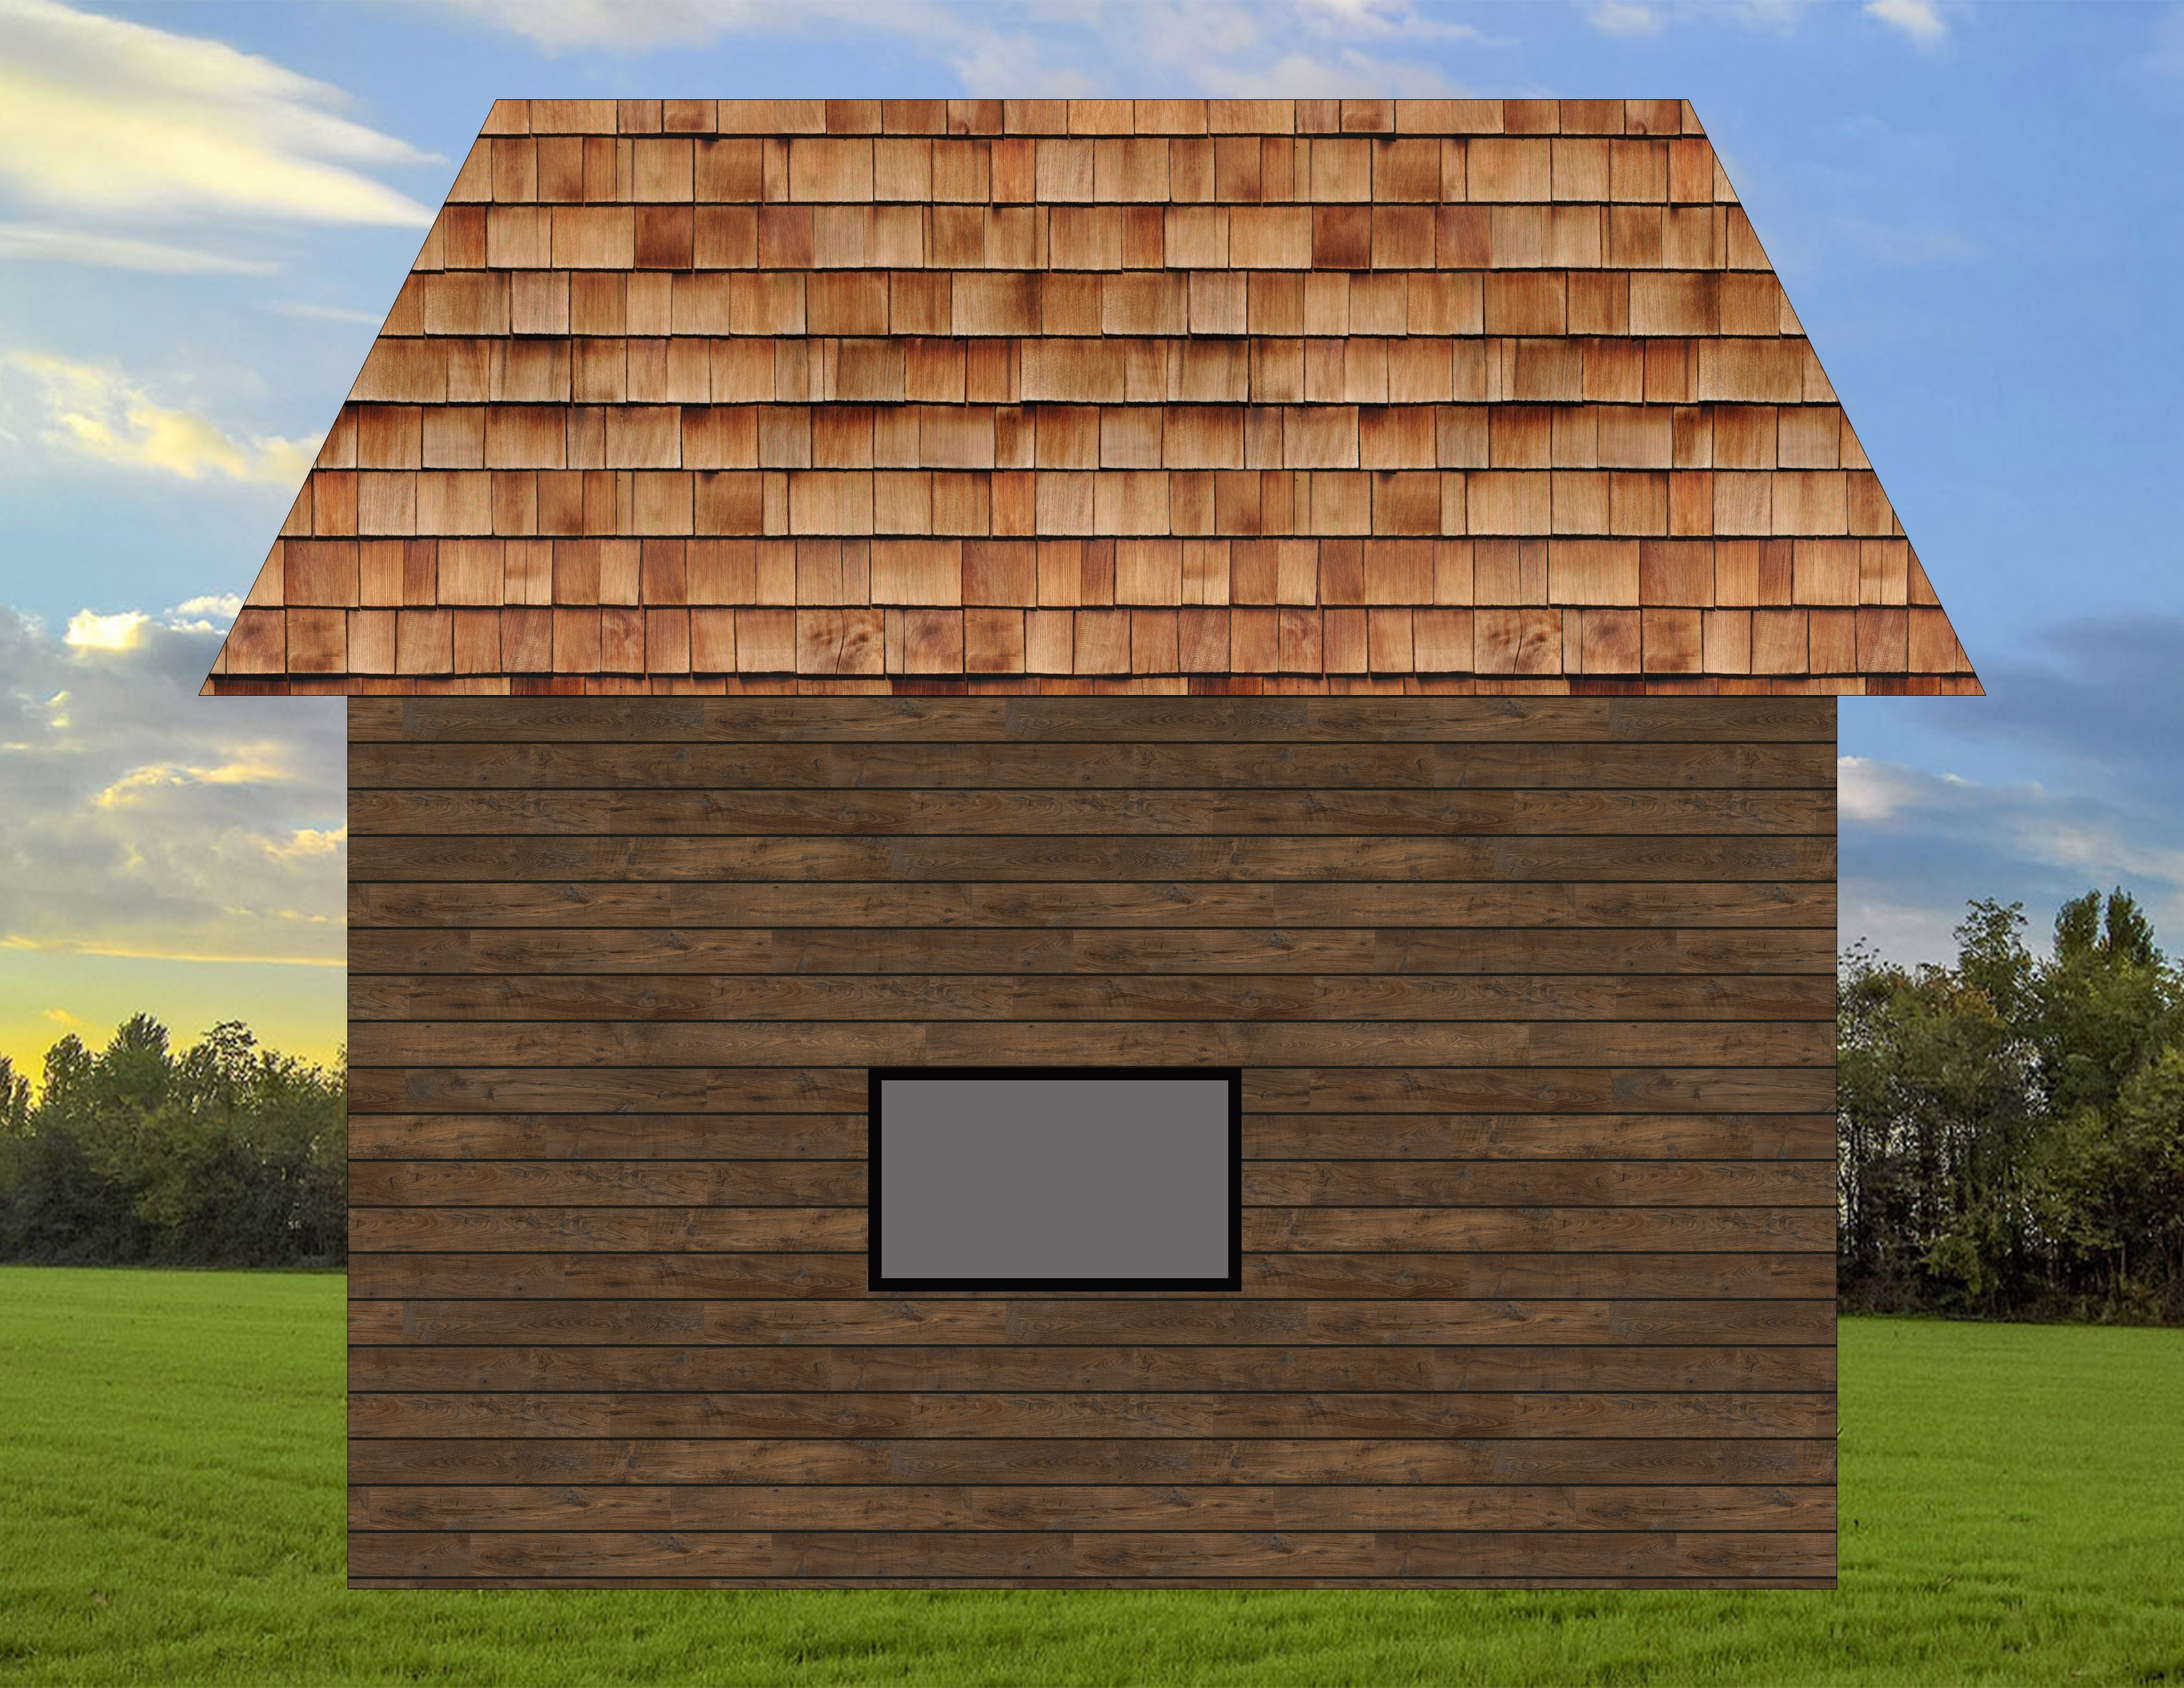
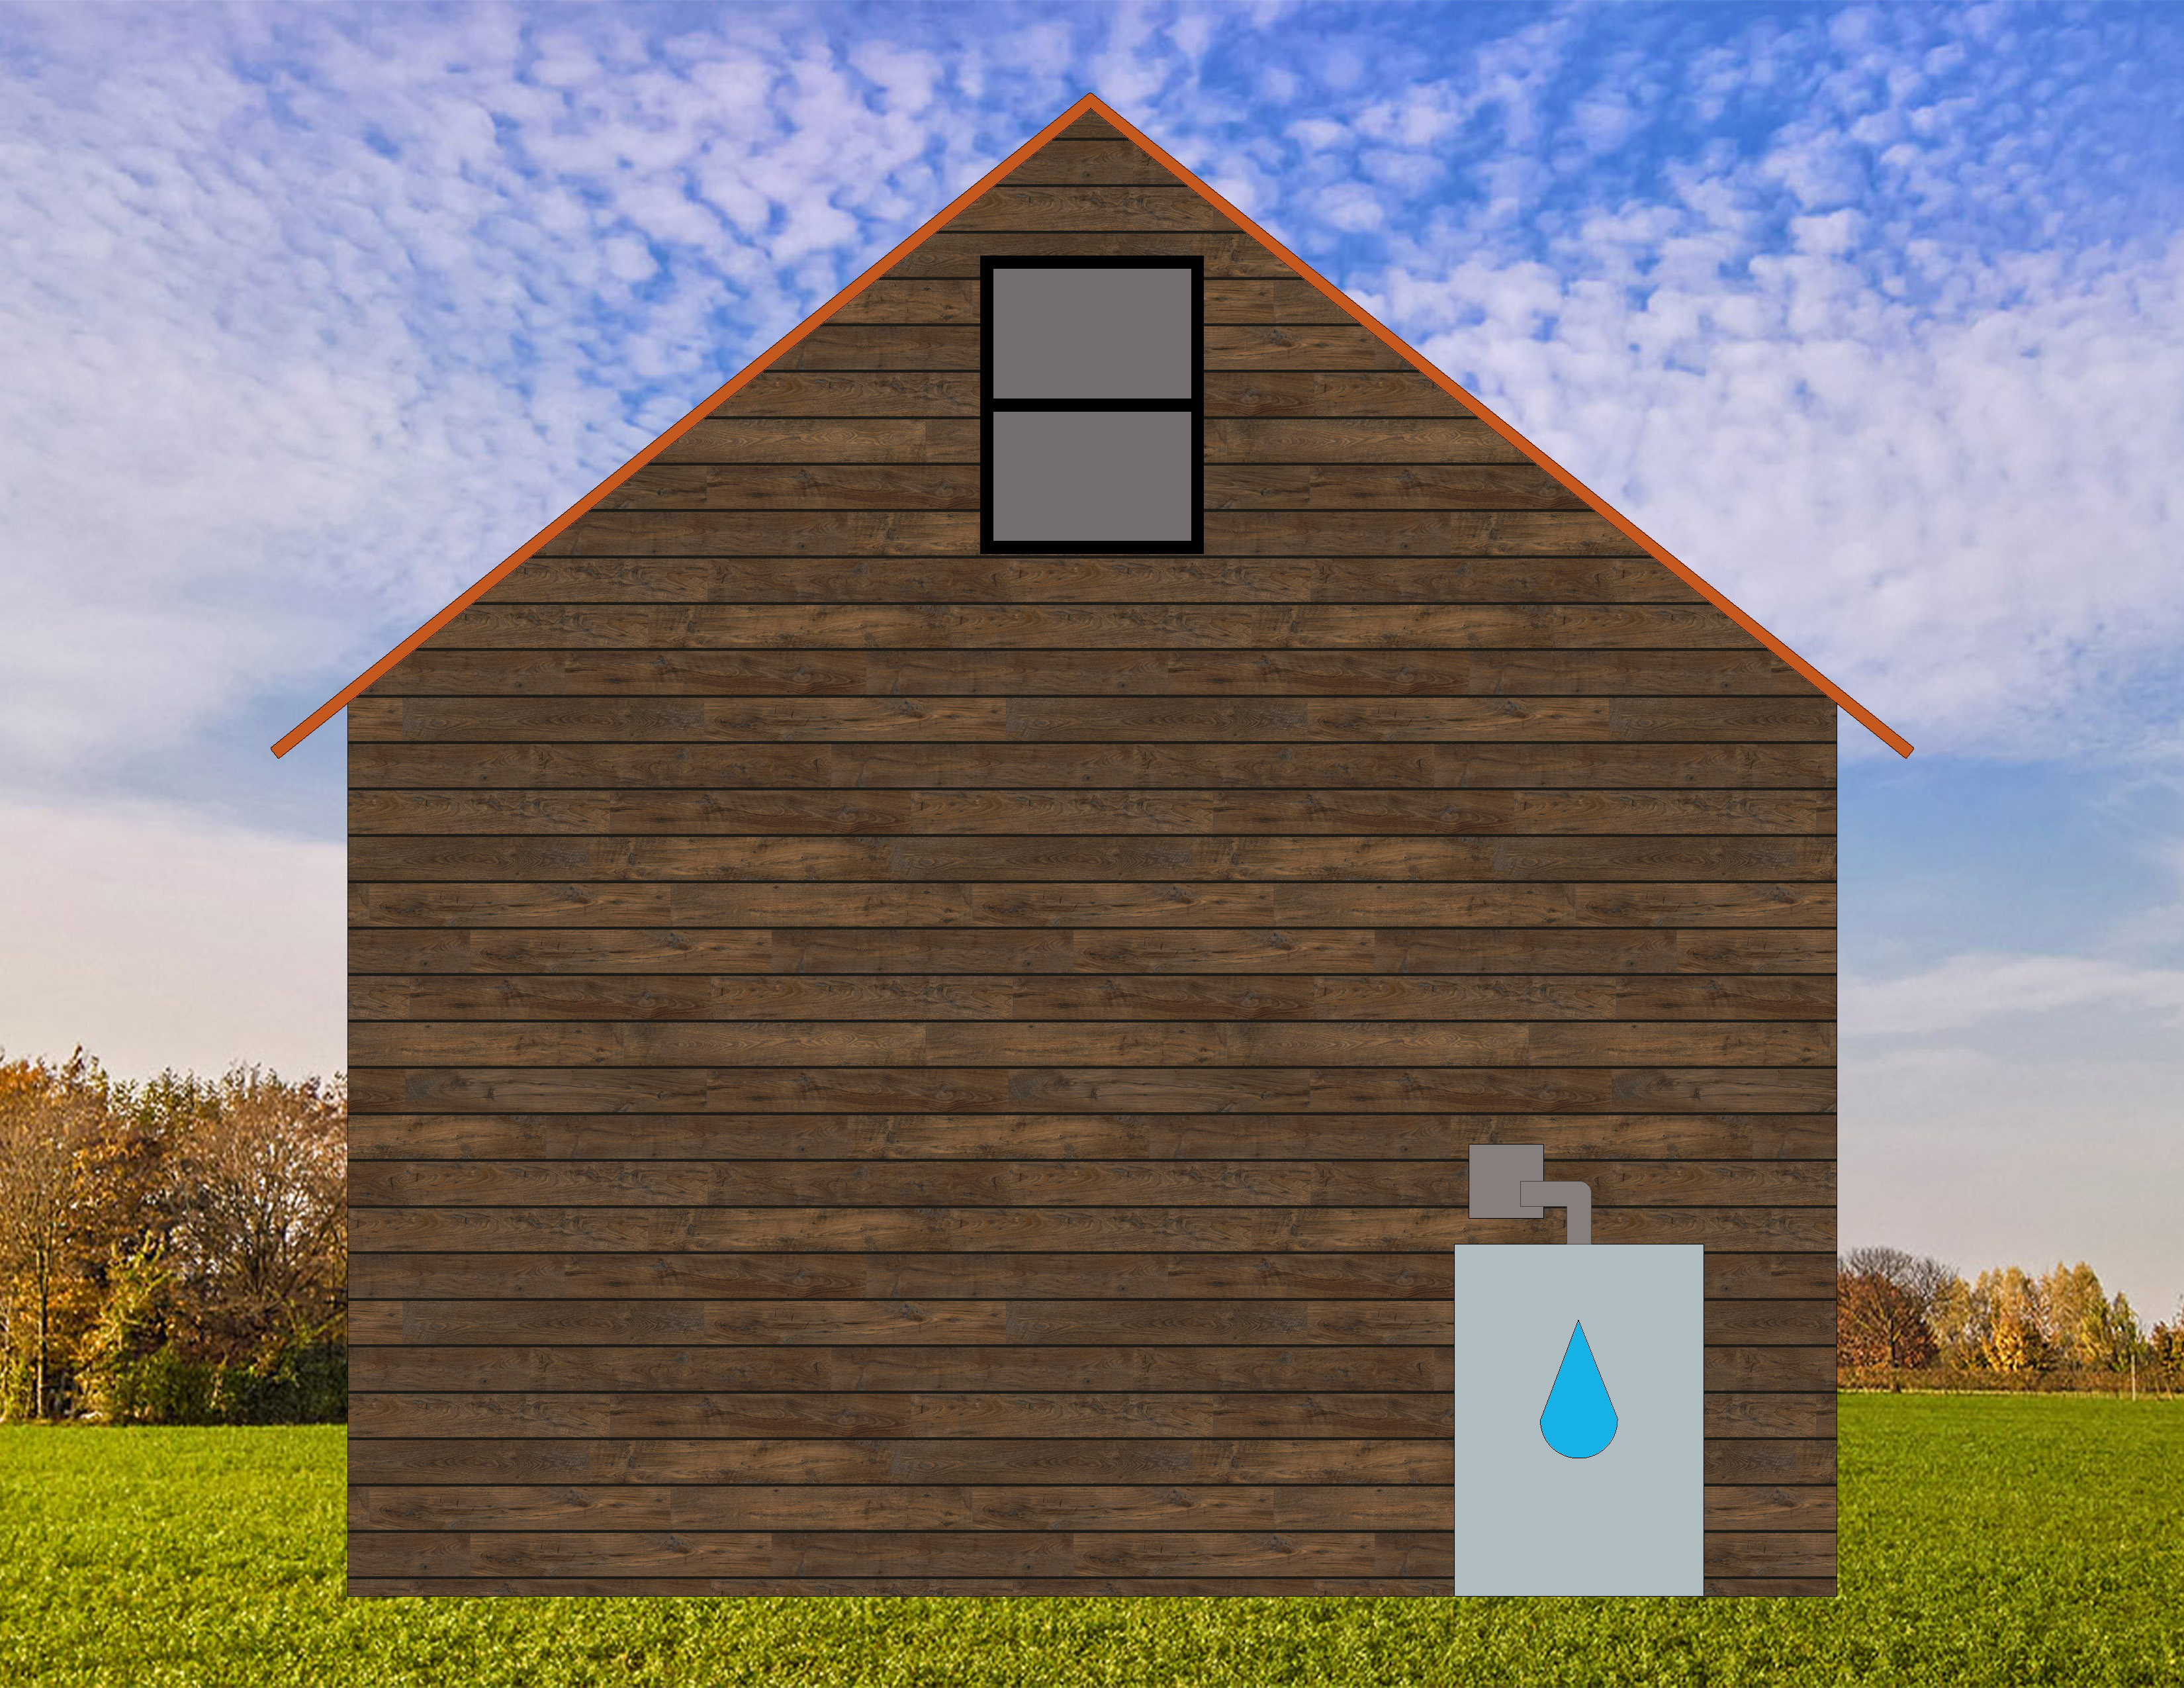
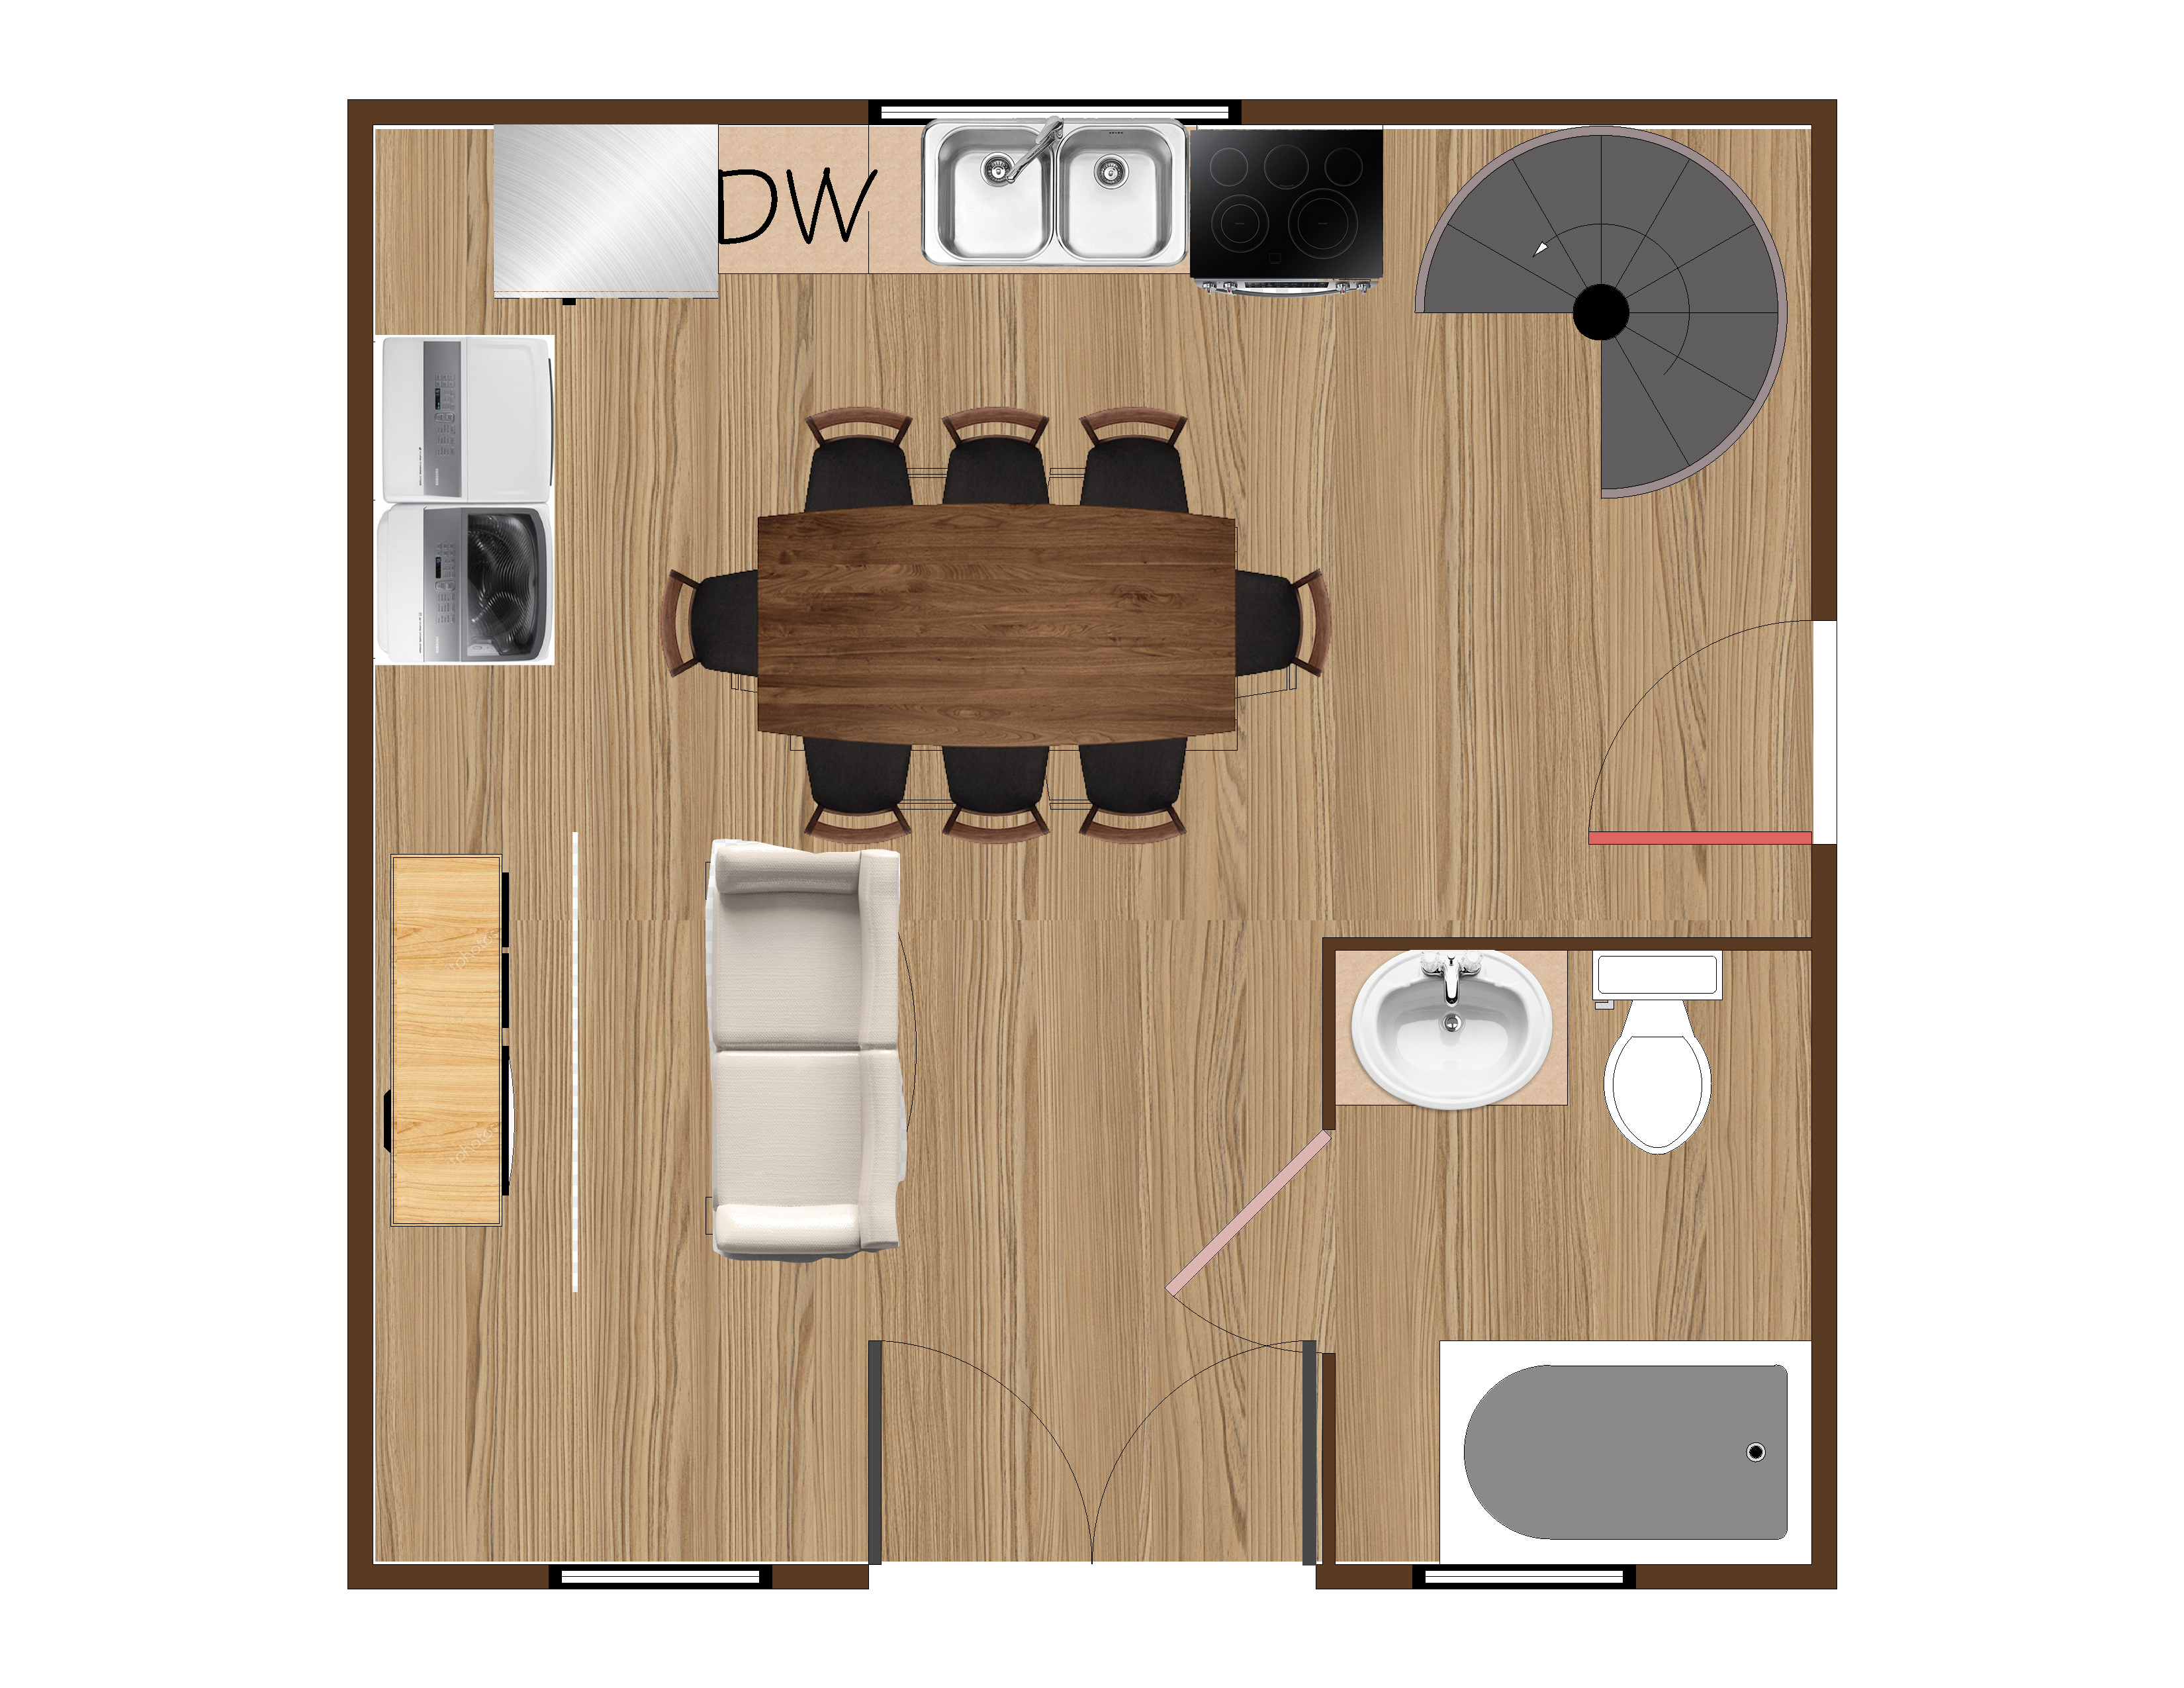

Above is a tiled gallery of concept art for a tiny house I created. I first drafted the elevations and floor plans in AutoCAD. After plotting them to create PDFs, I use Adobe Photoshop to make the concept art.

Here is a magazine advertisement of the aforementioned tiny house.
This is my final presentation board for this class which depicts the work I’ve been creating during the semester. (Note: Do not scan the QR code.)
Above are two videos I made for my final presentation of this class.
